Ankle sprains are a common injury, leaving you hopping mad and in pain. But the good news is most heal with simple home care. While learning how to treat a sprained ankle involves rest, ice, compression, and elevation (RICE), a key element is properly wrapping your injured ankle with a bandage for support and reduced swelling.
Let’s walk through the steps of applying a bandage for your sprained ankle, giving you the support you need to heal quickly and get back on your feet.
Materials needed
- An elastic bandage or an ankle brace (available at most drugstores or medical supply stores)
- Adhesive tape (optional, for added support)
- Scissors (to cut the bandage if necessary)
How to wrap a sprained ankle: A step-by-step guide
Wrapping a sprained ankle properly can help provide support, reduce swelling, and protect the injured area during the healing process. Below are step-by-step instructions on how to wrap a sprained ankle.
Step 1 - Prepare the ankle
Before wrapping the ankle, make sure it is clean and dry. If there are any open wounds or cuts, consider using a sterile dressing before wrapping.
Step 2 - Position the foot
Sit in a comfortable position with your injured foot raised slightly off the ground. This will help reduce swelling during the wrapping process.
Step 3 - Start wrapping
Begin wrapping the ankle bandage for sprains around the ball of your foot. Make sure to apply slight tension on the bandage, but not too tight to avoid cutting off circulation. Keep the bandage at a slight angle, so it covers both the foot and the ankle.
Step 4 - Cover the ankle
As you wind the ankle bandage wrap up towards the ankle, continue to maintain gentle tension on the bandage. Ensure that the wrap is snug but not overly tight.
Step 5 - Wrap the ankle joint
After covering the foot and ankle area, wrap the bandage around the ankle joint in a figure-eight pattern. Start on the inside of the ankle, crossing over the front of the ankle, and then around the back, crossing over again to the front. Repeat this process a couple of times.
Step 6 - Secure the wrap
To finish, wrap the bandage around the ankle a few more times to secure the figure-eight pattern. Be cautious not to make it too tight, as you want to allow some movement for circulation.
Step 7 - Optional tape support
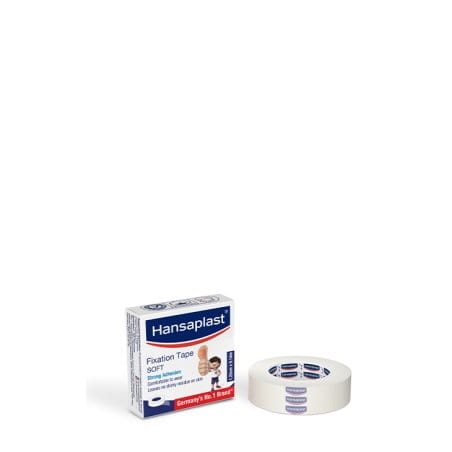
If you feel the need for additional support, you can use adhesive tape to further secure the ankle bandage wrap. Apply the tape around the bandage and ankle in a spiral manner, ensuring it sticks well without causing discomfort.
Step 8 - Check for proper fit
After wrapping, ensure that your toes do not turn blue or feel numb. If you experience any signs of poor circulation, loosen the wrap slightly.
Step 9 - Monitor the ankle
Keep an eye on your ankle while wearing the wrap. If you experience increased pain, swelling, or any signs of circulation problems, seek medical attention promptly.
Tip- Do not wrap the ankle too tightly, as this can lead to circulation problems and potentially worsen the injury. Avoid wearing the wrap too long continuously. It's essential to give your ankle periods of rest and allow it to breathe. Consult a healthcare professional if you are unsure how to wrap your sprained ankle properly or if you suspect a more severe injury, like a fracture.
The takeaway
In closing, with a properly applied bandage for your sprained ankle, you'll have the support you need to promote healing and minimise discomfort. But do keep in mind, a bandage is just one part of how to treat a sprained ankle. It is important to listen to your body and take it easy during recovery. If the pain worsens or persists, consult a healthcare professional for further evaluation.


.jpg?rx=0&ry=62&rw=1442&rh=317&hash=2E79F8FBA832BF0BA5235C13BE8582D4)